Precision Matters in Every Step of the Inspection Process
In Fluorescent Penetrant Testing (FPT), also known as Fluorescent Penetrant Inspection (FPI), the drying stage is one of the most critical steps that directly impacts the accuracy, sensitivity, and reliability of defect detection. Proper drying ensures that moisture is completely removed from the test part’s surface, allowing the fluorescent penetrant to effectively seep into surface-breaking discontinuities and later re-emerge under UV light when developer is applied.
📌 When and Why Drying is Essential in Fluorescent Penetrant Testing
The necessity and timing of drying in FPT/FPI depend on two key factors:
-
The method used to remove excess penetrant (solvent removal vs. water wash).
-
The type of developer applied (dry powder, non-aqueous wet, aqueous wet, or self-developing).
General Rules for Drying in Fluorescent Penetrant Inspection:
✔ When using solvent removal:
-
Forced drying is not recommended.
-
Parts should air dry naturally at room temperature—no heat application is allowed, as it can degrade the penetrant’s fluorescent properties.
✔ When using water wash:
-
If applying dry powder or non-aqueous wet developer: Drying must be performed before development to prevent moisture interference.
-
If using aqueous wet developer: Drying is required after developer application.
-
For self-emulsifying (self-developing) penetrants: Drying must be done after water wash but before inspection.
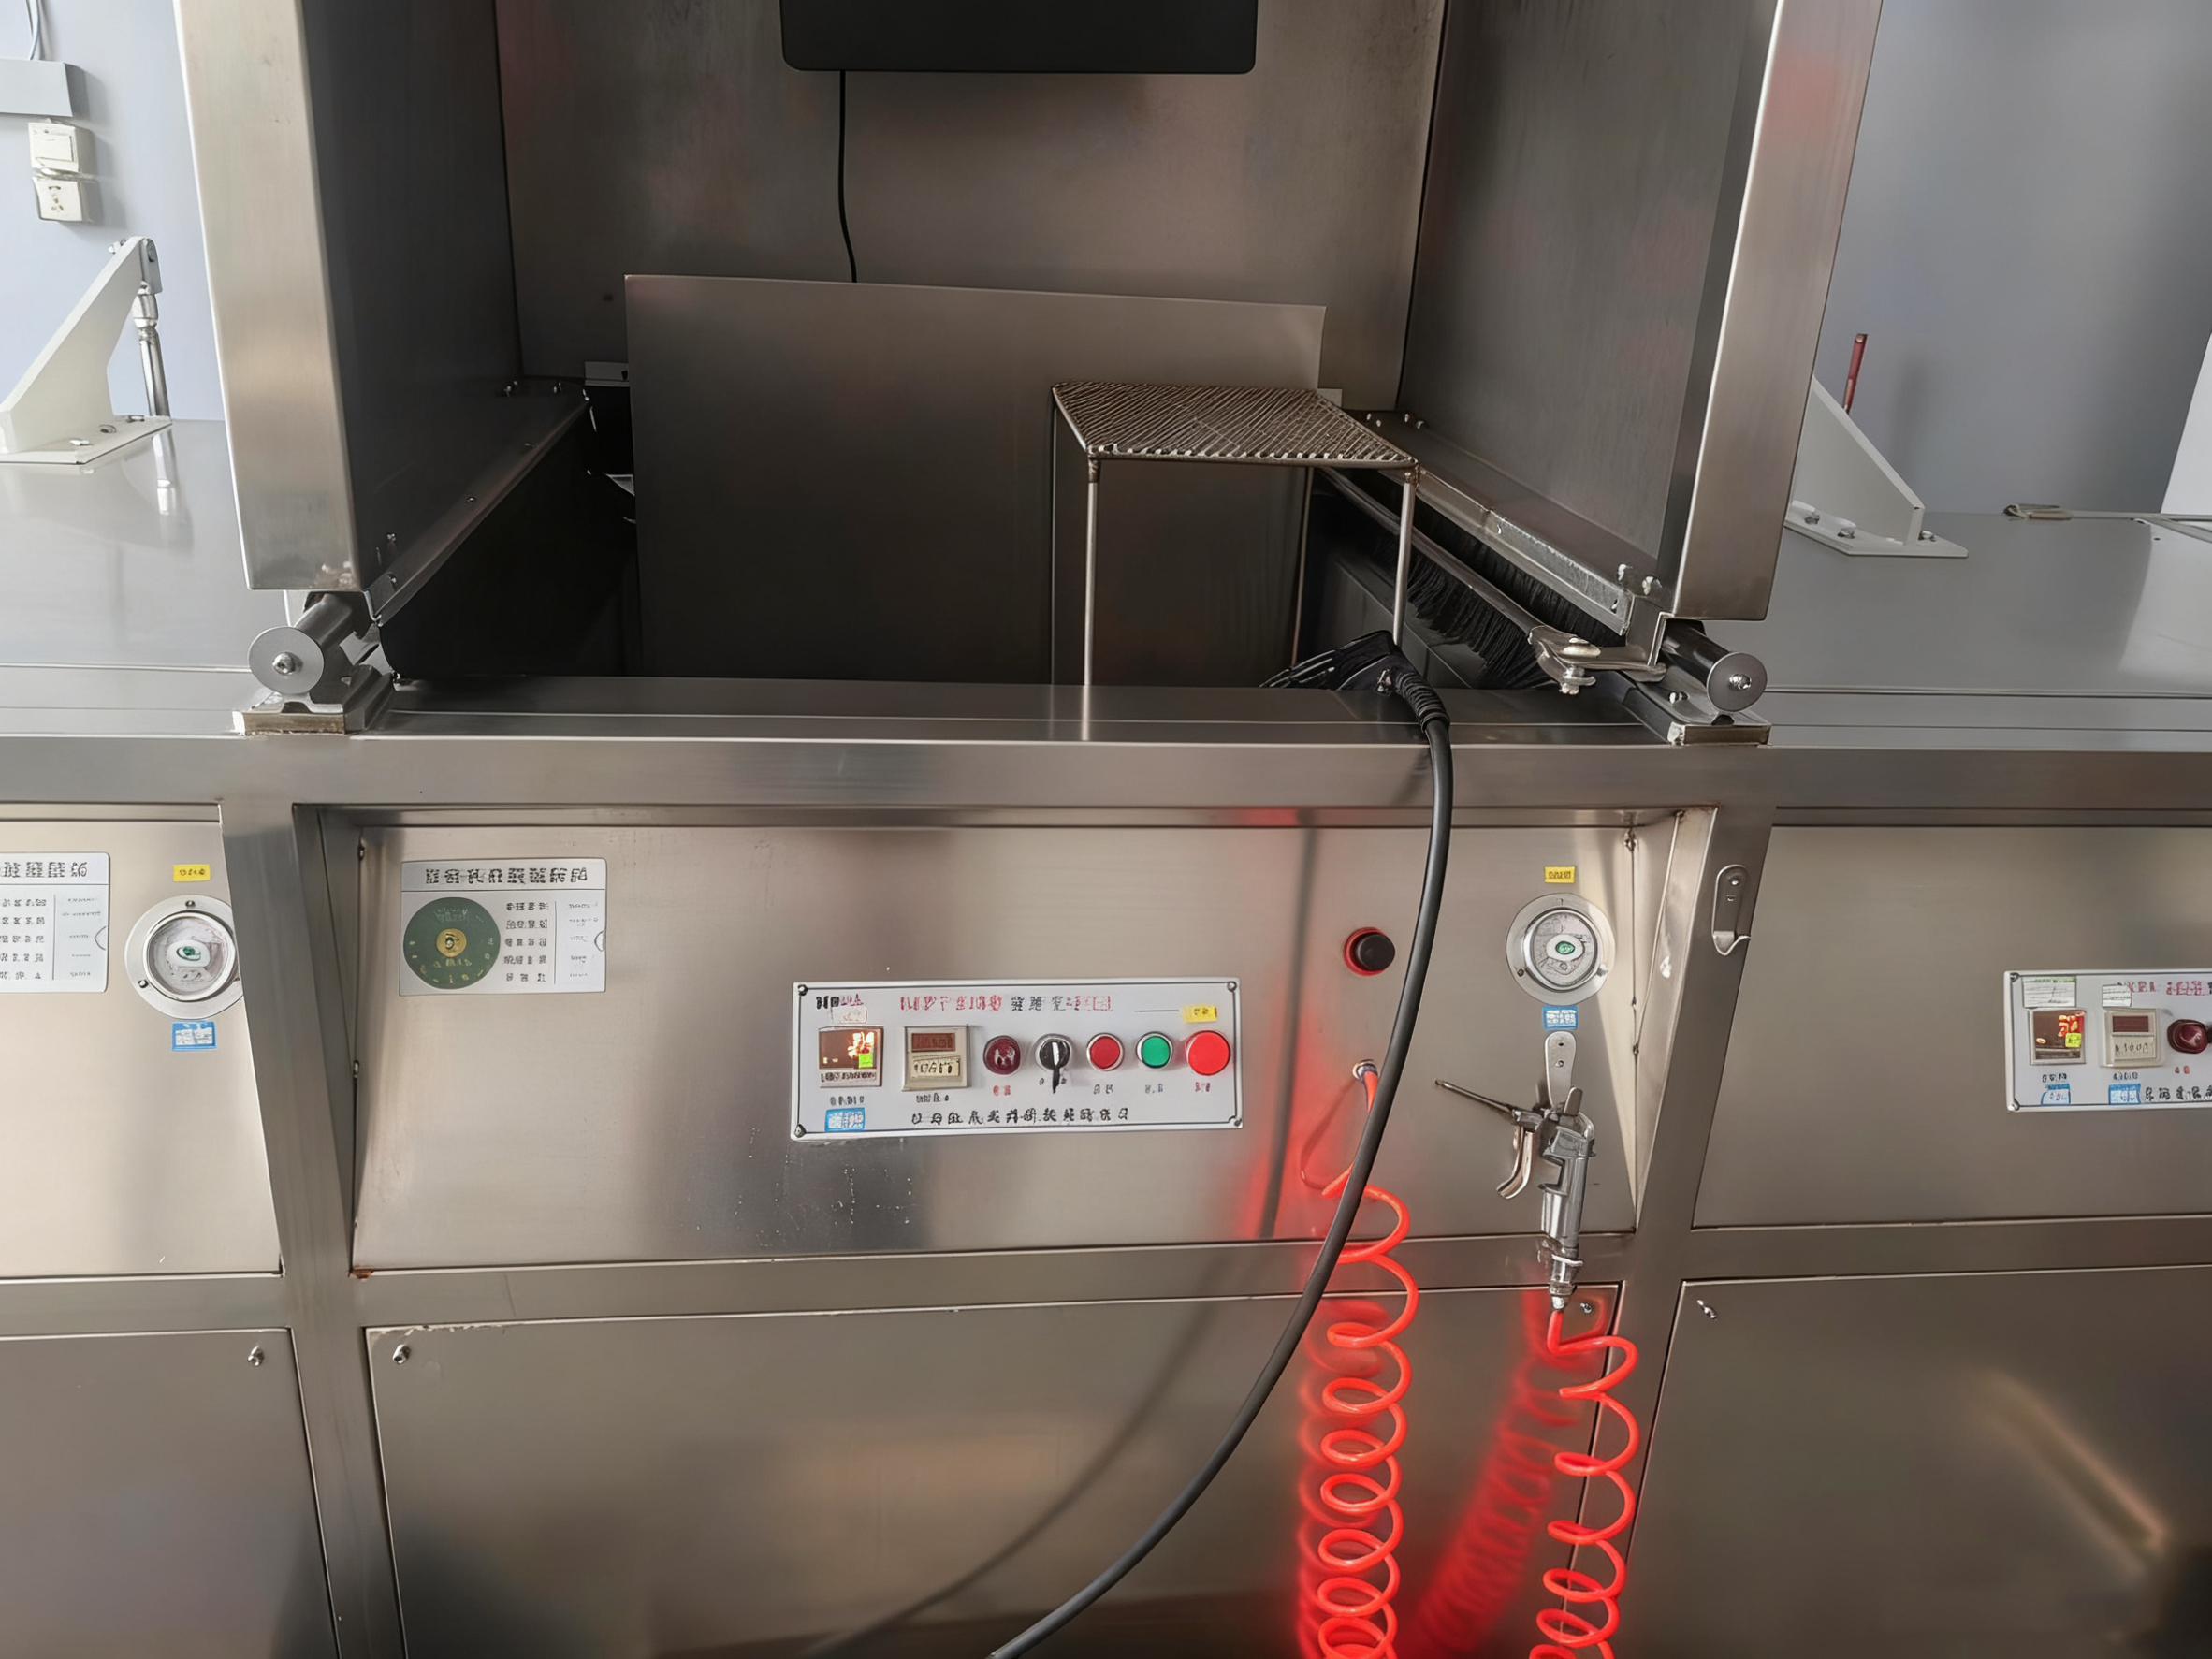
🔧 Best Drying Methods in Fluorescent Penetrant Testing
To achieve optimal results in FPT/FPI, the following drying techniques are commonly used:
-
Wiping with a clean, lint-free cloth – Removes bulk moisture without contamination.
-
Blowing with filtered, oil-free compressed air – Effective for removing trapped water in complex geometries.
-
Hot air blowing (low pressure, controlled temperature) – Accelerates drying without overheating.
-
Hot air circulation ovens – Ensures uniform drying for batch processing.
🔹 Best Practice: A combination of methods is often most effective:
-
Step 1: Wipe excess water after washing.
-
Step 2: Blow out residual moisture from blind holes, threads, and tight spaces using clean compressed air.
-
Step 3: Transfer parts to a controlled-temperature drying oven for complete moisture removal.
⚠ Special Considerations:
-
For large or non-oven-friendly parts, forced air drying at room temperature may be used, but this can reduce sensitivity.
-
Thermal dip drying (brief immersion in 80–90°C water) can speed up drying but must be limited to <20 seconds to avoid thermal degradation. Never use on machined surfaces!
🌡️ Optimal Drying Temperature & Time for Fluorescent Penetrant Testing
Excessive heat or prolonged drying can evaporate penetrant from defects or degrade fluorescent dyes, reducing defect visibility.
✅ Recommended Parameters:
| Material Type | Max Drying Temp | Drying Time | Surface Temp Limit |
|---|---|---|---|
| Metals | ≤80°C | 5–10 min | ≤50°C |
| Plastics / Low-MP Alloys | ≤40°C | Adjust as Needed | ≤40°C |
🔎 Key Factors Affecting Drying Efficiency:
-
Part size, geometry, and initial temperature.
-
Moisture content after washing.
-
Airflow and humidity in the drying environment.
🚫 Avoiding Contamination in Fluorescent Penetrant Testing
Since FPT/FPI is highly sensitive to contaminants, proper handling during drying is crucial:
✔ Separate drying & development areas from pre-drying stages to prevent cross-contamination.
✔ Use clean fixtures/baskets post-drying (or switch to a second conveyor line in automated systems).
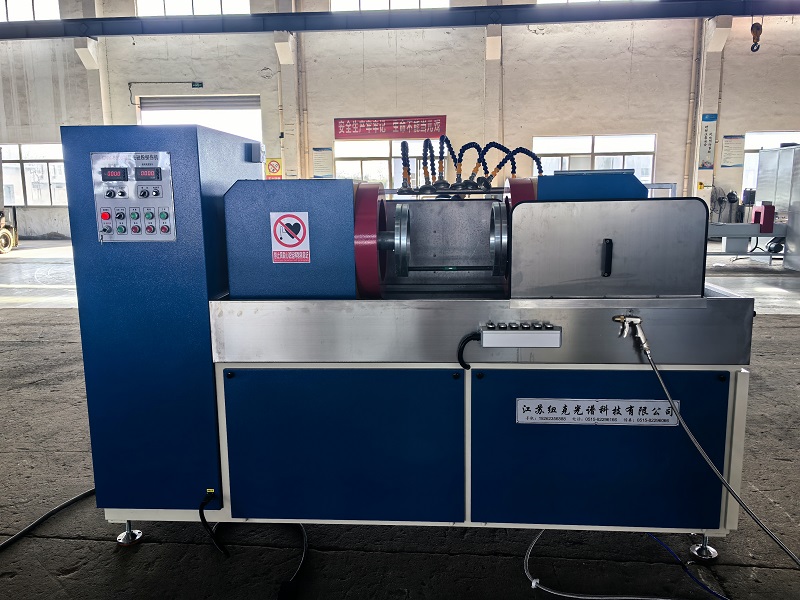
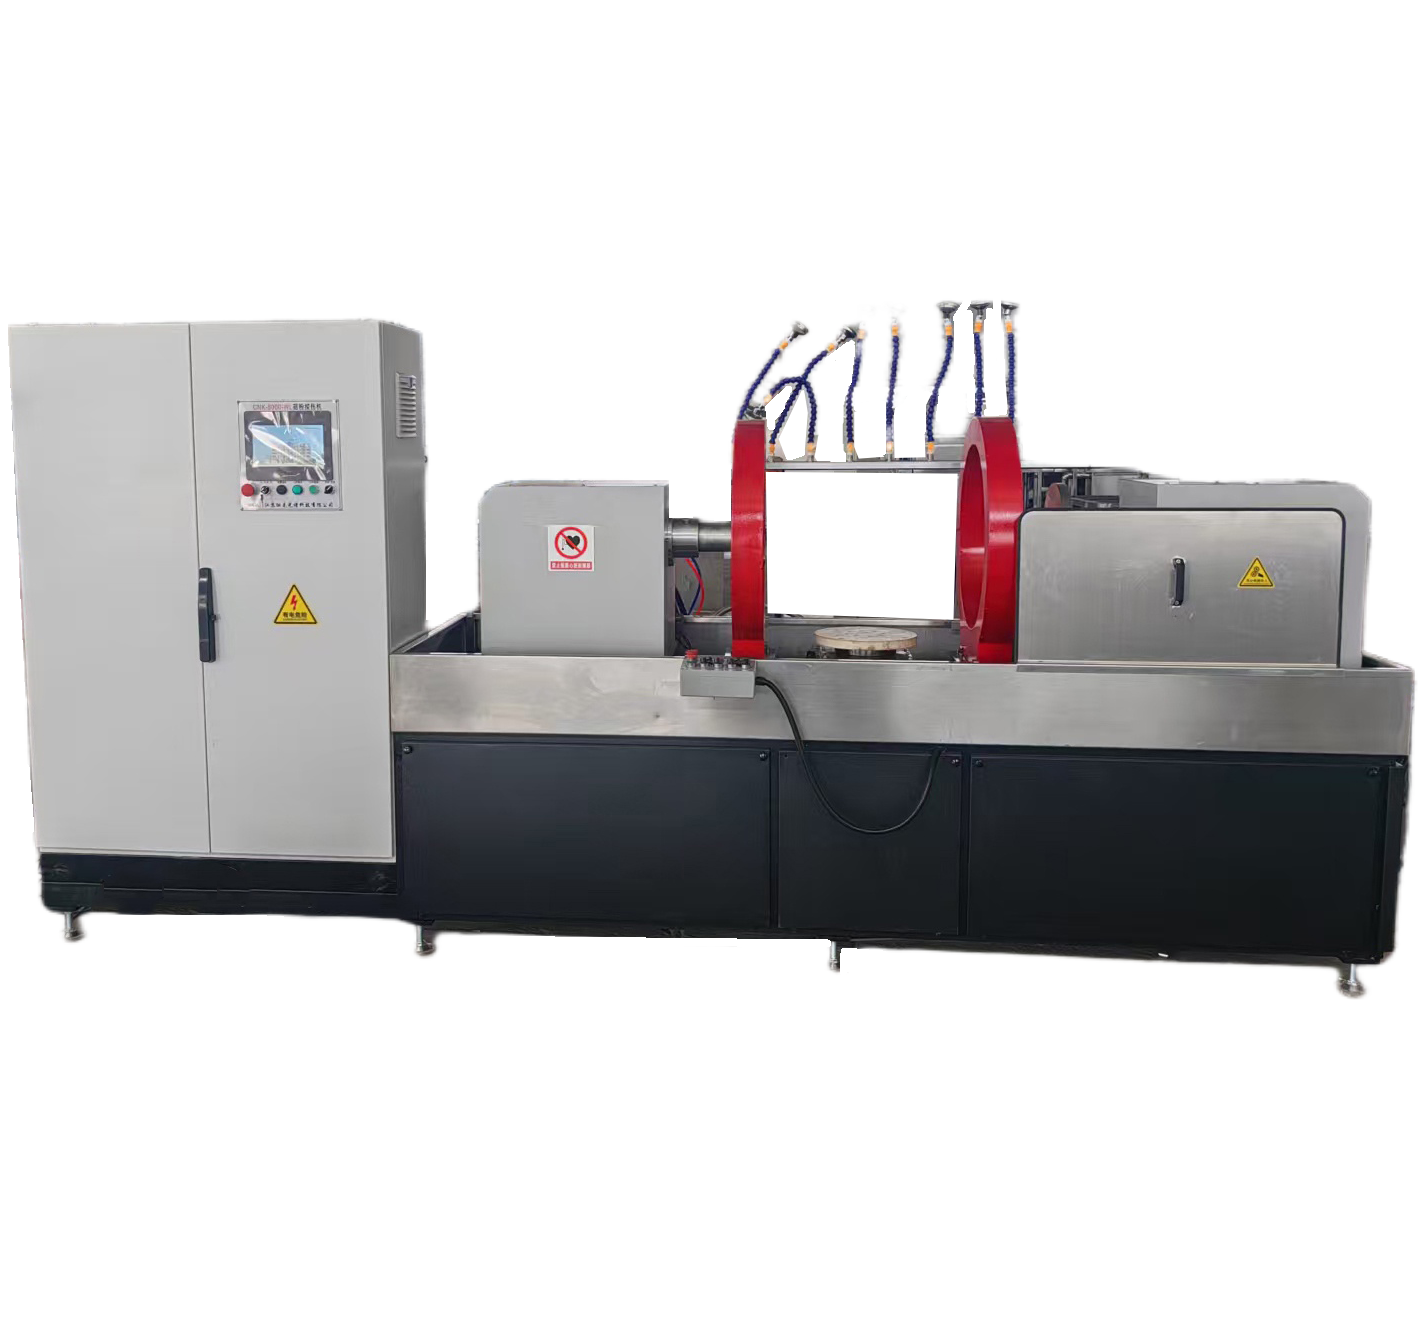
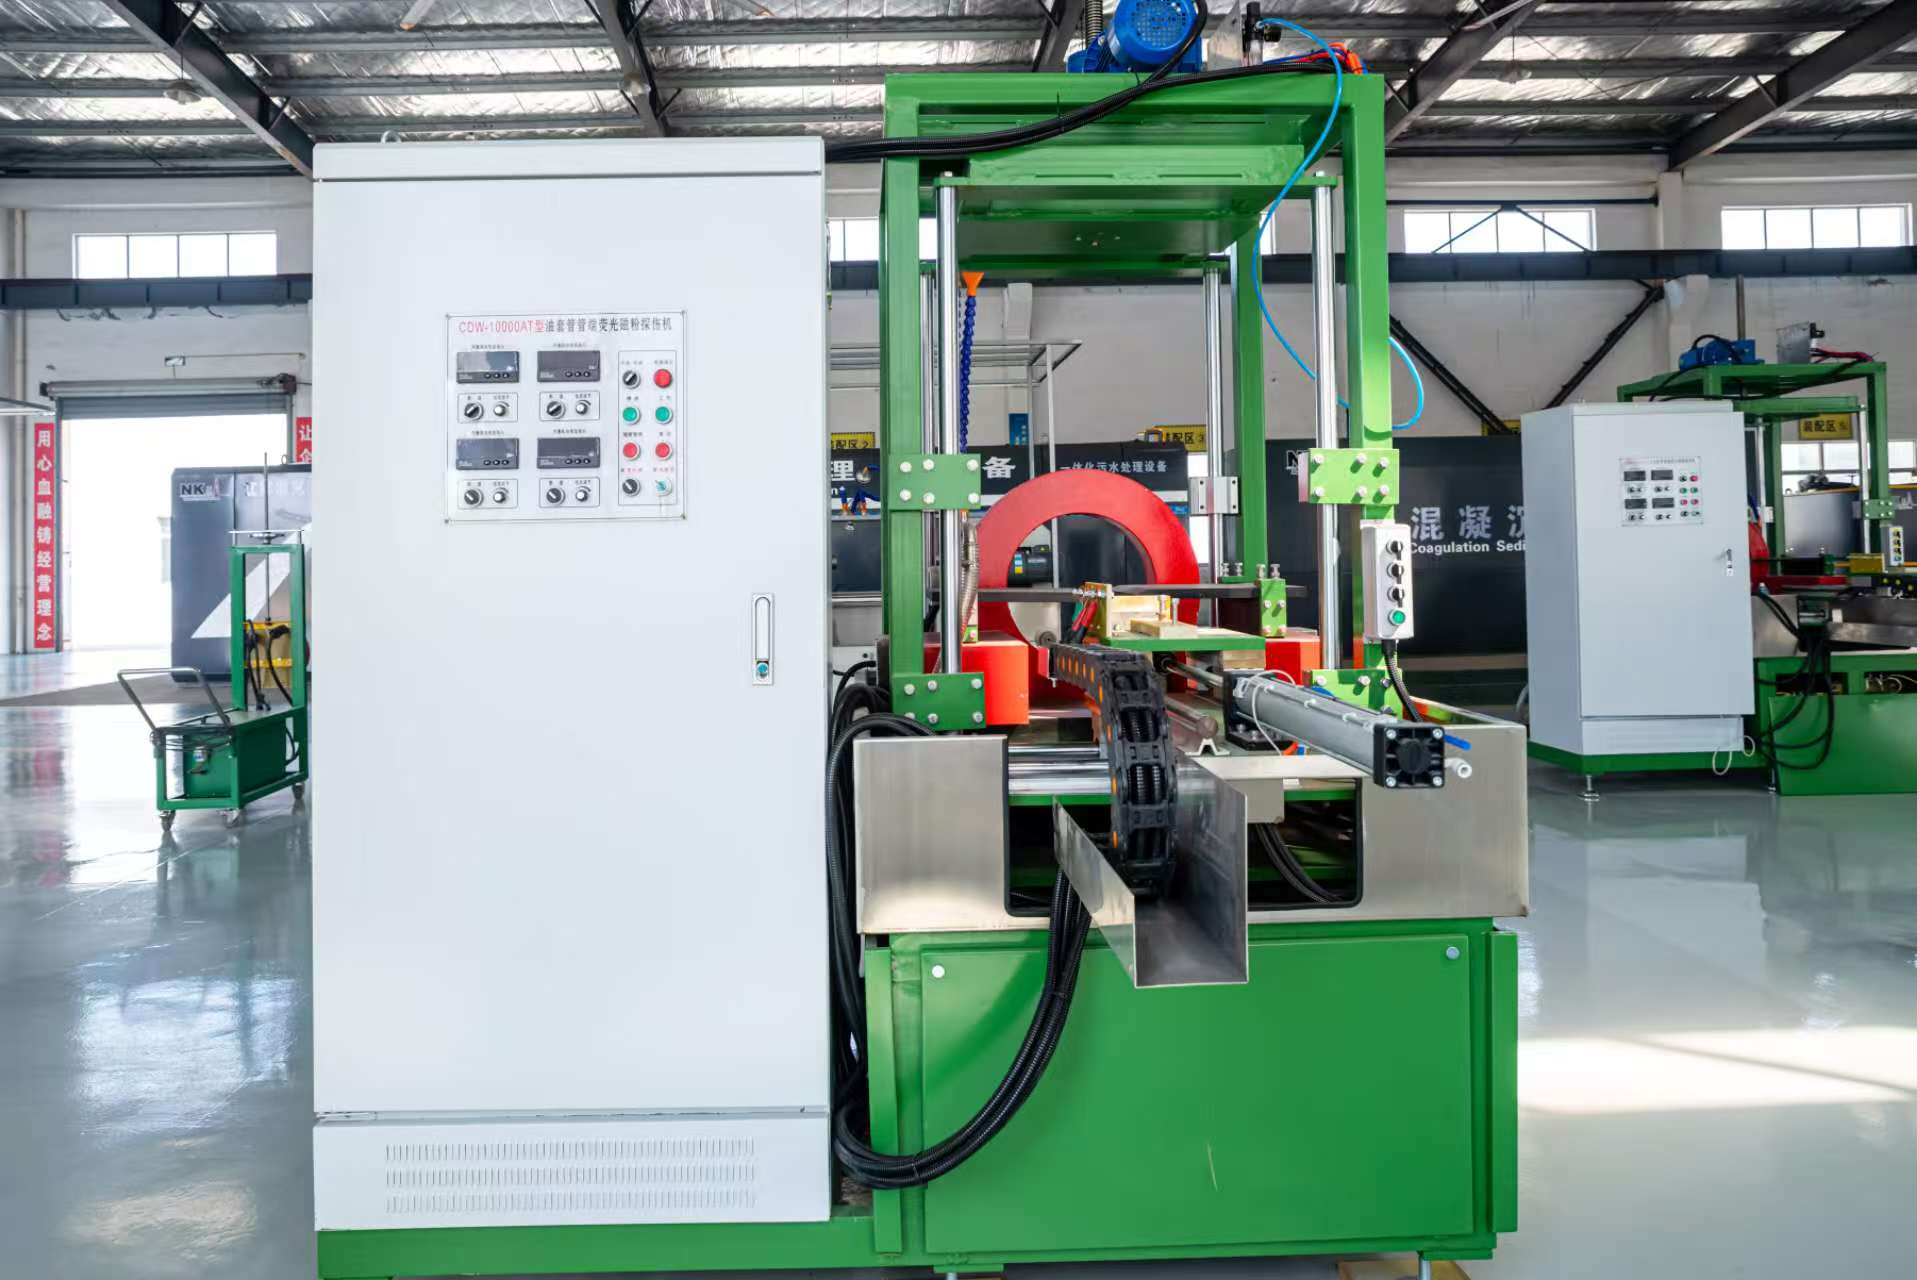
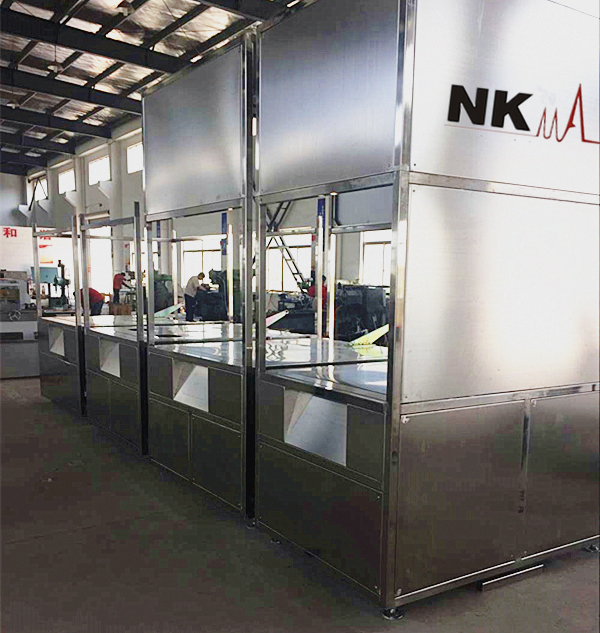
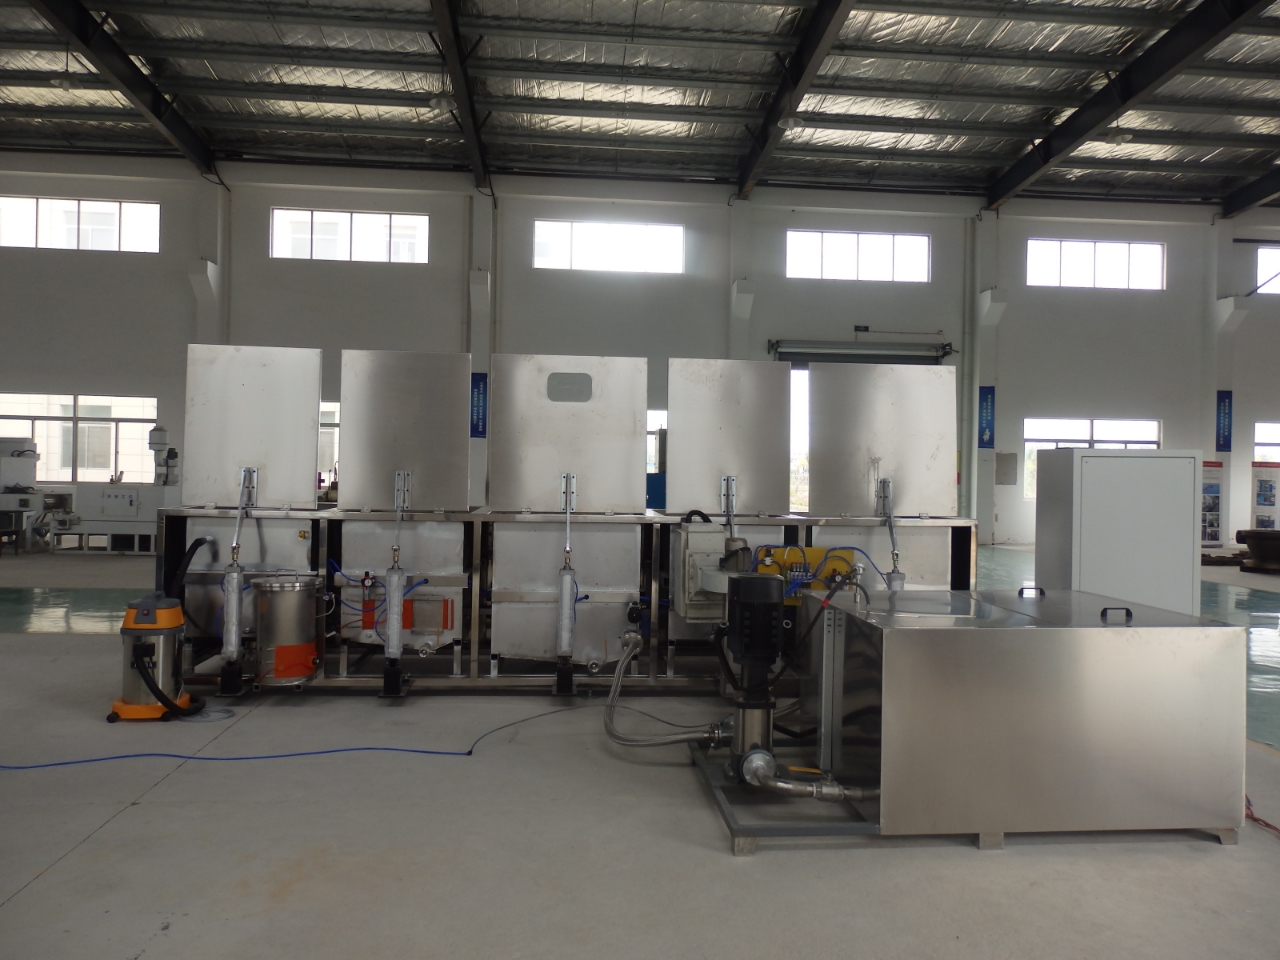
🌍 Advanced FPT/FPI Drying Solutions for Industry
We provide complete Fluorescent Penetrant Testing systems, including:
-
Automated drying ovens with precise temperature control.
-
Integrated hot air circulation systems for uniform drying.
-
Customized FPI lines for aerospace, automotive, fasteners, and critical components.
📩 Contact us today to optimize your Fluorescent Penetrant Testing process for maximum defect detection accuracy!